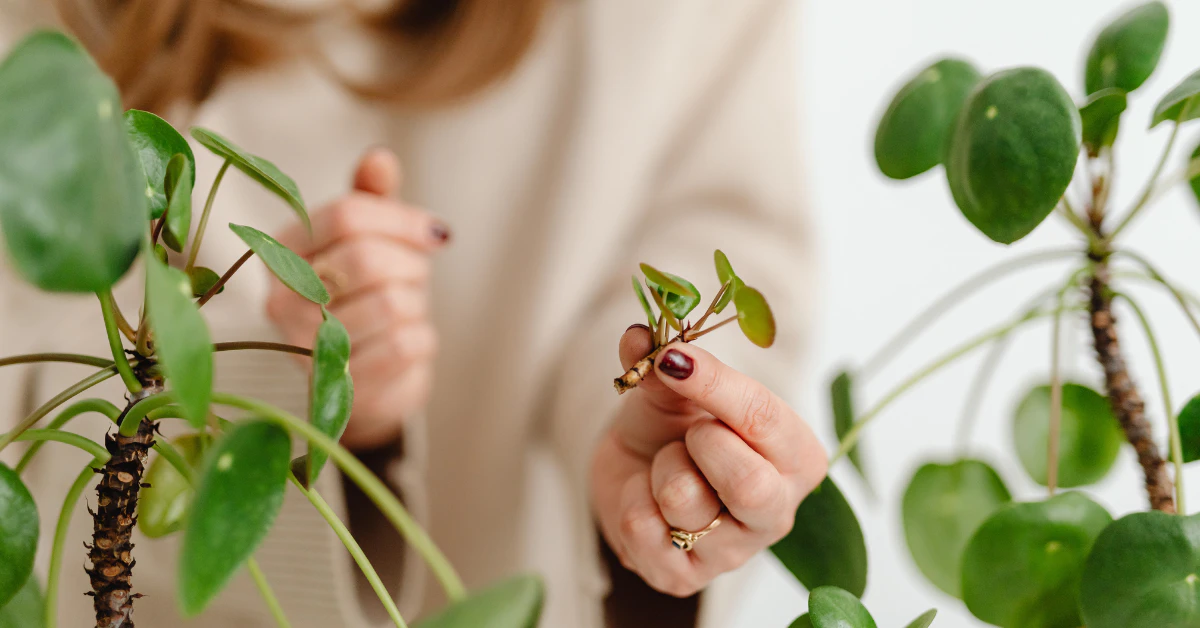
To propagate a jade plant, snip a healthy leaf or stem, let the cut end dry out for a few days until it forms a callus, then set it in well-draining soil. Keep it in bright, indirect light and water only when the soil is dry. Roots usually form within a few weeks.
Before you start moving pieces of your jade plant around the house, there’s one thing worth knowing. Jade plant (Crassula ovata) is listed by the ASPCA as toxic to dogs, cats, and horses. If a pet chews on a leaf or cutting, signs can include vomiting, depression, and trouble with balance.
This doesn’t mean you need to stop growing jade. It just means new cuttings should go somewhere your pets can’t reach while they root.
Crucial Prep: Zones, Humidity, and Callusing
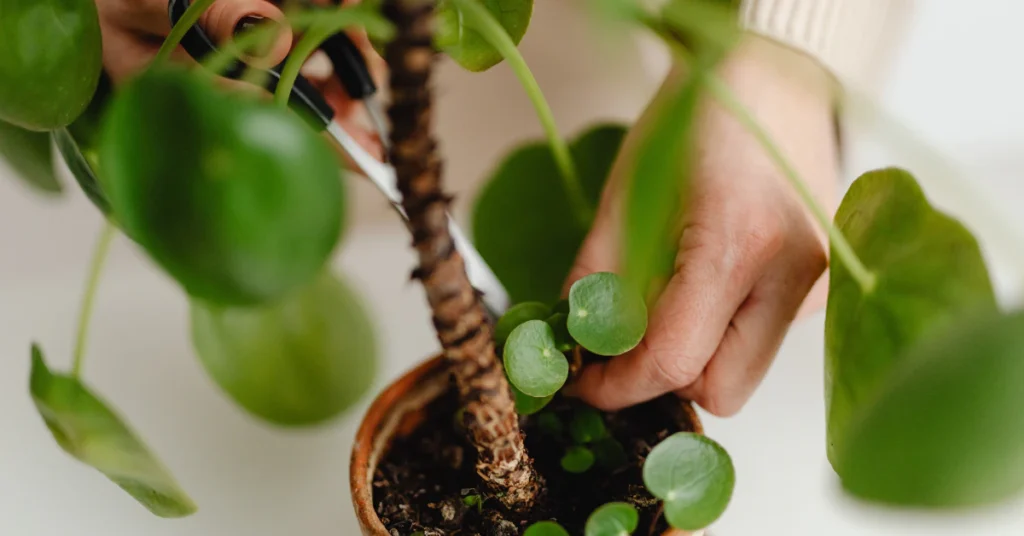
If you’ve propagated other houseplants before, forget most of what you learned. Jade plants break the usual rules.
Most cuttings root faster under a plastic bag or humidity dome. Jade cuttings don’t. According to NC State Extension, jade plants don’t tolerate high humidity well. Trap one under a dome and you’re more likely to end up with rot than roots. Skip the dome. Let your cutting sit out in normal room air instead.
The callusing step matters just as much. After you cut a leaf or stem, leave it alone for a few days in a dry spot out of direct sun. The cut end will seal over and turn tough and dry. This callus is what keeps water and bacteria from soaking into the wound once you plant it. Planting too soon, before that callus forms, is one of the fastest ways to lose a cutting to rot.
Where you live also changes how you time things. Jade plants are only reliably hardy outdoors in USDA Hardiness Zones 10 and 11, according to University of Florida IFAS Extension. Here’s how that breaks down:
| Your Zone | What This Means for You |
| Zone 10-11 | Propagate and grow outdoors year-round |
| Zone 9 | Outdoor growing works, but keep cuttings in containers you can move indoors for winter |
| Zone 8 and colder | Treat jade strictly as an indoor plant; time propagation around your indoor light and growing season, not outdoor frost dates |
Not sure which zone you’re in? You can look it up on the USDA’s hardiness zone map before you plan your propagation timeline.
The Aerial Roots Shortcut (Fastest Method)
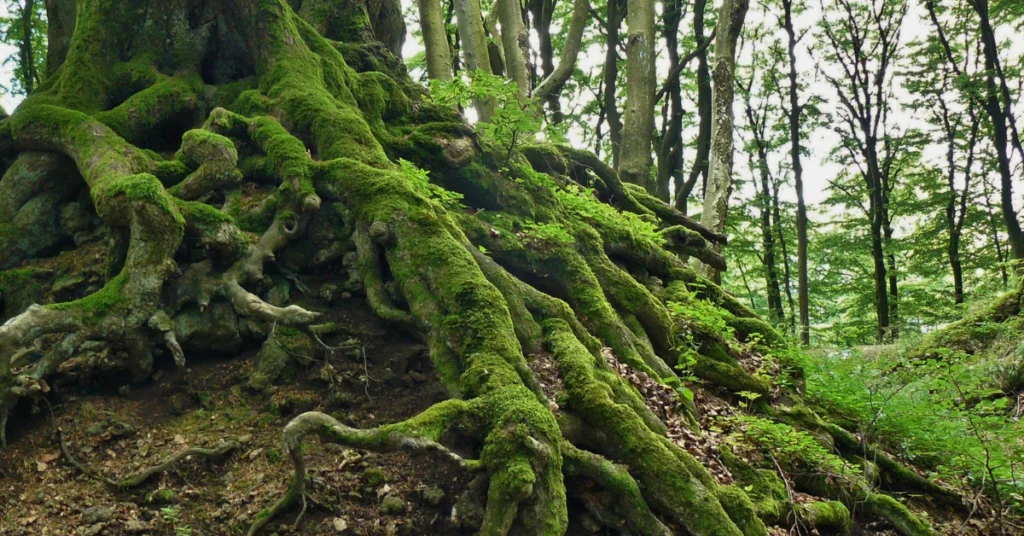
Ever spot small pink or white nubs poking out of your jade plant’s stem and wonder if something’s wrong? Nothing is wrong. Those are aerial roots, sometimes called adventitious roots, and they might be the easiest shortcut you’ll find in jade propagation.
A lot of beginners pinch these off without knowing what they are. That’s a missed opportunity. If you want to know how to propagate a jade plant with aerial roots, here’s the trick: instead of removing them, use them.
Take your cutting just below the spot where those roots have already formed. Because the plant has already started growing roots on its own, you’re not starting from zero. You’re skipping the hardest, riskiest part of propagation, the wait to see if roots will form at all.
This means:
- Faster rooting time compared to a bare stem cutting
- Lower risk of the cutting rotting before roots appear
- Less guesswork, since you can already see roots forming
You’ll still want to let the cut end dry and callus for a few days before planting, just like any other cutting. But once it’s in soil, a cutting with existing aerial roots tends to settle in and establish much faster than one starting from scratch.
Next time you see those little roots on your jade plant, resist the urge to pinch them off. They’re doing some of the work for you.
The Stem Cutting Method
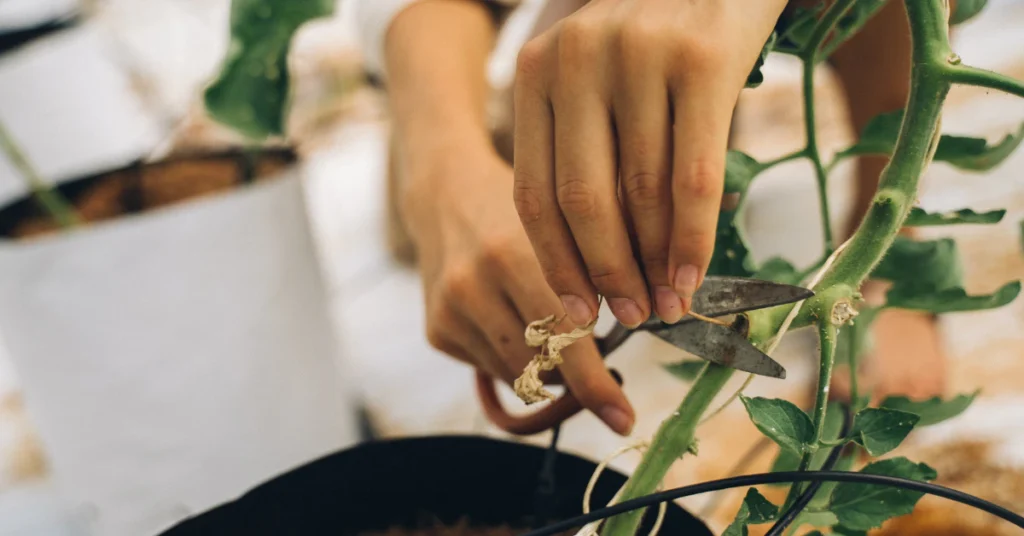
Taking a stem cutting is the most reliable way to propagate a jade plant, and it’s the method most people picture when they think about propagating one. Here’s exactly how to do it.
Choose and cut a healthy stem
Pick a stem that looks firm and healthy, with no soft or shriveled spots. Wipe your shears or scissors with rubbing alcohol first. This keeps bacteria from getting into the fresh cut. Snip a stem section about three to four inches long.
Let it callus
This is the step most beginners rush, and it’s usually why cuttings fail. Set your cutting somewhere dry, out of direct sun, and just leave it alone. After a few days, the cut end will dry out and seal over, forming a tough callus.
Don’t skip this. A cutting planted too soon, before that callus forms, lets moisture and bacteria into the open wound. That’s a fast track to a mushy, rotted stem instead of a new plant.
Plant in the right soil
Once your cutting has callused, it’s time to plant. NC State Extension recommends well-drained, loamy potting soil for jade plants. A basic potting mix combined with some perlite or coarse sand works well. What matters most is drainage. Water should move through the soil quickly, not sit and pool around the stem.
Bury the calloused end about an inch into the soil. Press the soil gently around the base so the cutting stands upright on its own.
Give it light and water sparingly
Place your pot somewhere it gets bright, indirect light. A spot near a window that doesn’t get harsh, direct afternoon sun works well.
Water sparingly. Let the soil dry out between waterings. Jade plants store water in their leaves, so they don’t need frequent watering, especially while a cutting is still trying to root. Overwatering at this stage is one of the most common ways a stem cutting fails.
The Leaf Cutting Method
A single fallen leaf can grow into a full jade plant. It just takes patience, and a clean break.
Here’s the part most people get wrong when they try to propagate a jade plant from a leaf. The leaf has to come off with its base intact, right where it connects to the stem. This little connection point is called the node, and it’s where new roots and growth will actually form. If the leaf tears and leaves part of that node behind on the stem, it likely won’t root at all, no matter how long you wait.
To remove a leaf the right way, gently wiggle it side to side until it pops off cleanly with that small base attached. Don’t force it or cut it with scissors partway up the leaf.
Just like with stem cuttings, let the leaf callus before planting. Set it somewhere dry and shaded for a few days until the base seals over.
Once it’s calloused, lay the leaf on top of moist, well-draining soil, with the base lightly touching the surface. You don’t need to bury it.
Now comes the hard part: waiting. Root formation typically begins somewhere between two and six weeks after the leaf is removed. That’s a wide window, and it’s normal. Don’t panic and toss a leaf that hasn’t shown roots after just a week or two. Keep it in bright, indirect light, mist the soil lightly if it looks bone dry, and let time do its work.
Water vs. Soil Propagation: Which is Better?
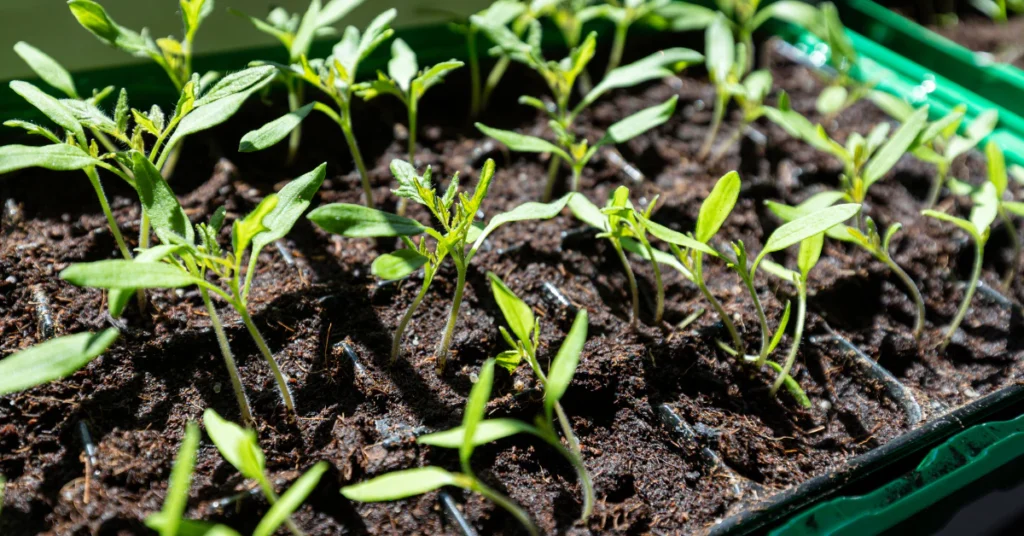
Spend any time in a plant community online and you’ll find people arguing about this. Some swear by watching roots grow in a glass jar. Others insist that’s asking for trouble. Both sides have a point.
Here’s how the two methods actually stack up.
| Feature | Water Propagation | Soil Propagation |
| Visibility of roots | You can watch roots grow in real time | No visual access until you check the soil |
| Rot risk | Higher, especially if water isn’t changed often | Lower, as long as soil drains well |
| Transplant shock | Water roots are fragile and can struggle when moved to soil | Roots grown in soil are sturdier from the start |
| Maintenance | Needs water changed every few days | Needs occasional watering only |
Water propagation is satisfying to watch. There’s something reassuring about seeing little white roots grow where you can actually check on them. That’s a real advantage, especially if you’re anxious about whether your cutting is doing anything at all.
But water sitting still for days at a time is a good place for bacteria to grow, and jade cuttings are more prone to rotting in stagnant water than a lot of other houseplants. Even when a water-rooted cutting survives, its roots tend to be more fragile than roots grown directly in soil. That can mean a rough transition, and sometimes a setback, when you finally move it into a pot.
Soil propagation skips both of those problems. It mimics how jade actually roots in nature, and the roots that form are generally stronger from the start.
So which one should you use? Soil is the safer, more natural choice for most beginners, and it’s the method extension resources point to most often for succulents. If you’d rather use water, that’s fine too. Just commit to changing it every few days, and don’t be surprised if the transition to soil takes a little extra care.
Diagnosing Failures: Why Did My Cutting Fail?
Sometimes a cutting just doesn’t make it. Before you give up on propagating jade altogether, it helps to know what actually went wrong.
Mushy, black, or see-through stems
This almost always means rot. If your cutting feels soft, looks dark or almost translucent, or has a bad smell, it’s not coming back. This usually happens for one of two reasons: it was planted before it fully calloused, or it’s been sitting in soil that’s staying too wet.
NC State Extension notes that root rot from overwatering is one of the main problems jade plants face, and cuttings are even more vulnerable than mature plants. Wet soil and an unhealed cut are a bad combination.
Shriveled, crispy leaves or stems
This points the other direction. A cutting that looks dry, wrinkled, and crispy has likely gone too long without any water at all, or sat somewhere too hot. Jade plants can handle being underwatered better than overwatered, but even they have limits.
What to take from this
Most failed cuttings come down to one of these two extremes. If you remember only one thing, remember this: rot is the bigger threat. When in doubt, water less, make sure your soil drains well, and always let cuttings callus fully before planting.
Frequently Asked Questions
Can you root jade plant cuttings in water?
Yes. Suspend a calloused cutting in a glass of water and change the water every few days to keep bacteria from building up. Just know that water-rooted cuttings tend to grow more fragile roots and carry a higher rot risk than soil.
Can you cut a branch off a jade plant and replant it?
Yes, this is the standard stem cutting method. Let the cut end dry and callus for a few days before planting it in well-draining soil.
What are common jade propagation mistakes?
The three biggest ones are skipping the callus phase, overwatering the cutting once it’s planted, and using a humidity dome, which traps moisture jade plants can’t tolerate.
Can you cut a jade plant and just stick it in the dirt?
You can, but it’s not recommended. Without letting the cut end callus first, the fresh wound is exposed to moisture right away, which sharply raises the risk of rot.
Where should you not put a jade plant?
Avoid spots with intense, all-day direct sun, since it can scorch the leaves. Also keep jade plants and cuttings away from pets and small children, since the ASPCA lists jade as toxic to dogs, cats, and horses.
What is the lifespan of a jade plant?
According to Clemson HGIC, jade plants can live for a very long time and grow into small trees or shrubs indoors with proper care. Many people keep the same jade plant for decades.
Conclusion
Propagating a jade plant isn’t complicated once you know where beginners usually go wrong. Let the cutting callus before it touches soil. Skip the humidity dome. Water less than you think you should. Do those three things, and whether you’re working from a leaf, a stem, or a cutting with aerial roots already forming, your odds of success go way up.
If a piece of your jade plant breaks off tomorrow, you’ll know exactly what to do with it. And if it doesn’t root the first time, you now know how to figure out why, and how to get it right the next time around.