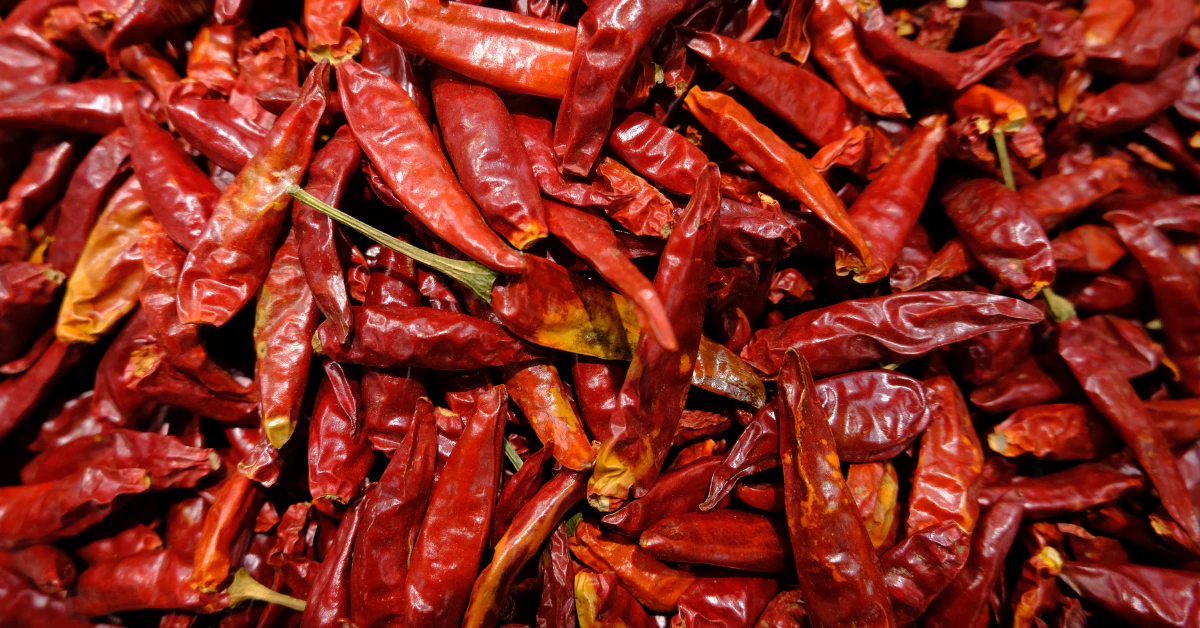
The most reliable way to dry chili peppers is in a food dehydrator set to 140°F (60°C) for 12 to 24 hours, until the peppers are crisp and brittle all the way through. This baseline comes from Colorado State University Extension. A low oven, an air fryer with a dehydrate mode, or outdoor sun-drying can also work, depending on your climate and equipment.
If your counter is covered in chilies right now, you’re not alone. Harvests peak from July through October, and green chiles keep turning red right up until the first frost hits. That short window means most gardeners end up with more peppers than they can use fresh, all at once. Drying is the easiest fix, as long as you pick a method that matches your kitchen setup and your local climate.
Jump to the method that fits you:
- Food Dehydrator Method
- Low Oven Method
- Air Fryer Method
- Sun-Drying and Air-Drying Method
- Conditioning and Storing Your Dried Chilies
Choosing the Best Chili Drying Method (Comparison Table & Regional Guide)
Not every method works everywhere, and not every pepper needs the same treatment. Here’s how the four main options stack up.
| Method | Temp | Average Time | Best Pepper Types | Climate Needed | Mold Risk |
| Food Dehydrator | 140°F (60°C) | 12 to 24 hours (or 6 to 8 hours for peeled green chile) | Any type, thick or thin-walled | Works in any climate | Low |
| Low Oven | 140°F, door cracked | Up to 2x longer than a dehydrator | Thicker peppers, small batches | Works in any climate | Low, if door stays cracked |
| Air Fryer (dehydrate mode) | Varies by model, generally low-heat setting | Varies by model | Thin-walled peppers | Works in any climate | Low, if temp is low enough |
| Sun-Drying / Air-Drying (string) | Outdoor heat | 2 to 3 days (peeled green chile) | Thin-walled peppers | Hot, dry regions only | High in humid or cool areas |
Air fryer times and temps come from general appliance ranges, not extension-tested data, since no official source has published exact chili-specific settings yet.
Regional caveat: According to UC ANR Cooperative Extension, sun-drying and outdoor air-drying only work reliably when daytime temps stay above 85°F with low humidity. That makes them solid choices in the arid Southwest, but risky in cooler or humid parts of the country, where damp air invites mold before peppers finish drying.
Gardeners in colder zones also face a shorter window. Per MSU and NMSU Extension, peppers ripen from green to red between September and the first frost, so an early frost can cut that time short. If you’re harvesting green, moisture-heavy peppers in a cool climate, a cheap dehydrator is usually worth the investment over trying to air-dry.
Prepping Chili Peppers for Drying (Seeds, Skins & Safety)
Start by sorting your harvest. Toss anything soft, bruised, or showing dark spots. These won’t dry properly and can spread mold to the good peppers around them.
Should you remove the seeds?
Not necessarily. According to Colorado State University Extension, most of the heat in a chili pepper comes from the inner veins and membrane, not the seeds themselves. If you want milder dried peppers, scrape out the veins before drying. This also helps thick-walled peppers dry faster. Seeds that fall to the bottom of your dehydrator can be saved for replanting or ground into flakes, as long as they’ve dried below 100°F.
A grower’s trick worth trying
Some experienced pepper growers on forums freeze washed peppers before dehydrating them. The idea is that freezing ruptures the cell walls, so once the peppers thaw, moisture escapes faster during drying. This isn’t an extension-tested rule, just a technique some home growers swear by, so treat it as optional rather than required.
Drying vs. roasting: don’t mix them up
You don’t have to peel chiles before drying. Per UC Davis and MSU Extension, you can air-dry whole pods with the skin still on. But if you’re working with tough-skinned green chiles and want the skin off first, you’ll need to blister them, not just dry them. NMSU Extension recommends a 450°F broiler for 6 to 8 minutes, or a stovetop or grill, until the skin loosens. If you roast and peel first, refrigerate the chiles within 2 hours and use, dry, or freeze them within 3 days, per NMSU guidance.
Two safety notes before you start
Wear gloves when handling hot peppers, and if you’re drying super-hot varieties, run your dehydrator outdoors or in a garage. The fumes can sting your eyes and throat indoors.
Pet Toxicity Warning
Regular garden chili peppers (Capsicum annuum and related types) are not on the ASPCA’s toxic plant list. Capsaicin can still cause painful stomach upset if a pet eats one. But there’s a lookalike plant to watch for: Ornamental Pepper, also called Jerusalem Cherry (Solanum pseudocapsicum). It contains solanine and is genuinely toxic to dogs, cats, and horses. Never mistake this decorative plant for an edible chili when harvesting.
How to Dry Chili Peppers in a Dehydrator (Best Overall)
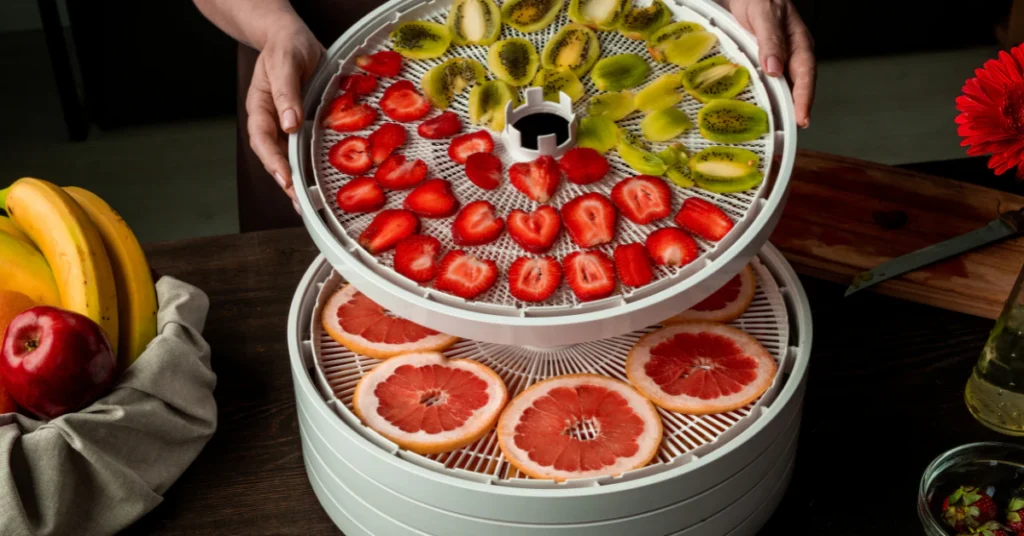
If you’re wondering how to dry chili peppers in a dehydrator without losing a batch to mold, this is the method extension offices trust most. Steady airflow and exact heat control mean it works reliably no matter how humid your kitchen is, unlike sun-drying or open-air methods.
Here’s how to do it, based on Colorado State University Extension guidelines:
- Preheat your dehydrator to 140°F (60°C).
- Wash and dry your peppers, then remove stems. Slice thicker peppers lengthwise, or leave thin-walled ones whole.
- Arrange peppers in a single layer on the trays. Don’t let them touch or overlap, since crowded peppers trap moisture and dry unevenly.
- Turn larger pieces every 3 to 4 hours so both sides dry at the same rate.
How long will it take?
Most whole or halved chilies need 12 to 24 hours at 140°F, per CSU Extension. If you’re working with roasted, peeled green chile strips or halves instead, NMSU Extension notes these typically finish faster, in about 6 to 8 hours, since the skin is already gone and there’s less bulk to dry through.
How to know they’re done
Let a pepper cool for a minute before testing it. It should snap cleanly in half with no bend and no soft or leathery spot in the middle. If it flexes at all, it needs more time. Rushing this step is the number one reason batches mold in storage later.
How to Dry Chili Peppers in the Oven (Including Thai Chilies)
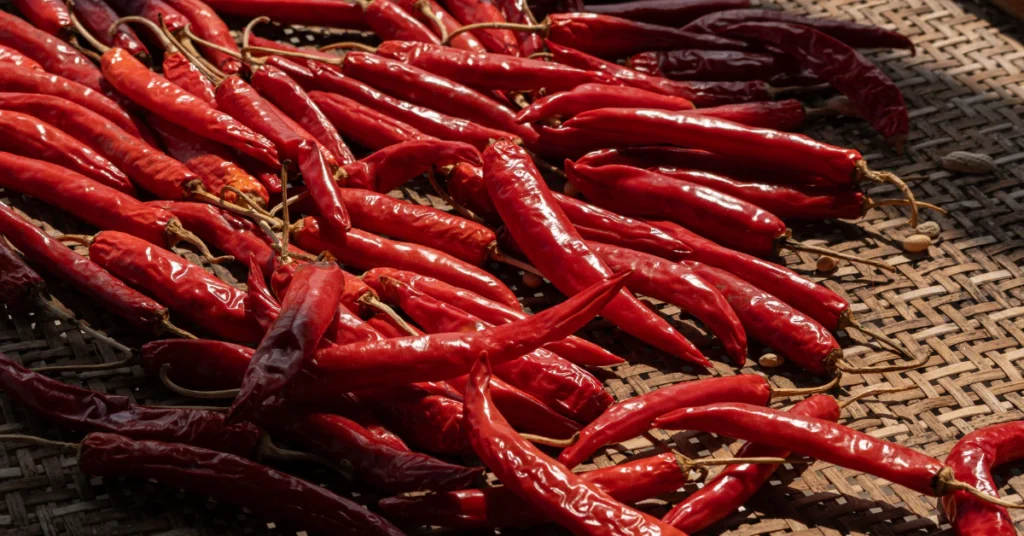
If you don’t own a dehydrator, learning how to dry chili peppers in the oven is your next best option. The main challenge is that most home ovens don’t hold a truly low, steady temperature the way a dehydrator does, and they can trap moisture instead of letting it escape. A little setup fixes both problems.
Here’s how to set it up:
- Set your oven to its lowest possible setting, ideally between 125°F and 140°F.
- Prop the oven door open a few inches with a wooden spoon. This lets steam escape instead of building up inside, which helps prevent your peppers from steaming or scorching instead of drying.
- Arrange peppers in a single layer on a tray. Slice thicker peppers lengthwise so the inside can dry, not just the skin.
- Rotate your trays every 3 to 4 hours for even drying.
Expect this to take a while. Per Colorado State University Extension, oven drying can take up to twice as long as a dehydrator’s 12 to 24 hour window, so plan for a full day or more depending on pepper size.
What about Thai chilies?
If you’re wondering how to dry Thai chili peppers in the oven specifically, you’re in luck. Thai bird’s eye chilies have thin walls and naturally low moisture, so they don’t need to be sliced open like a jalapeño or poblano. Just slit each pepper slightly along the side to let steam vent, then dry them whole. They’ll finish noticeably faster than thicker peppers, since there’s simply less moisture inside to remove. Keep an eye on them earlier than you would a thick-walled batch, since thin peppers can go from perfectly dry to scorched fairly quickly.
How to Dry Chili Peppers in an Air Fryer (And Why Some Models Fail)

Before you try to dry chili peppers in an air fryer, there’s one mix-up you need to avoid. A lot of recipes online show peppers going into a 400°F air fryer basket to blister the skins for roasting. That is not the same thing as drying peppers for storage, and following those instructions will burn your harvest instead of preserving it.
True drying only works if your air fryer has a real “Dehydrate” mode, one that actually drops down to somewhere between 120°F and 150°F. That range lines up with the 140°F target CSU Extension recommends for dehydrators. If your machine has this setting, you’re in decent shape.
Here’s the catch: many basic air fryers without a dedicated dehydrate button can’t go below 170°F to 180°F, even on their lowest setting. That’s still too hot for drying. At that heat, the outside of the pepper hardens and browns quickly while the inside stays damp, which sets you up for mold later even though the peppers look dry.
No university extension has published a chili-specific air fryer protocol yet, so treat this as general appliance guidance, not a tested standard. If your air fryer does have a true dehydrate setting near 135°F to 140°F, halve or use small thin-walled peppers, spread them in a single layer, and check every 1 to 2 hours. The fan in an air fryer moves air faster than a standard dehydrator, so times can run shorter than expected.
How to Air Dry Chili Peppers Naturally (On a String & In the Sun)

If you want to know how to dry chillies naturally without any equipment at all, this is the traditional route. But it only works well under the right conditions, so read the climate rule below before you start.
Screen Drying in the Sun
Here’s how to dry chillies in the sun the right way. Per UC ANR Cooperative Extension, this only works reliably if your daytime temperatures consistently stay above 85°F (29.7°C), with low humidity and nights that don’t drop too cold. If you don’t have that kind of weather, skip ahead to the dehydrator or oven method instead.
If your climate qualifies, lay whole or sliced peppers on a raised mesh screen so air moves underneath as well as on top. Cover the screen with cheesecloth to keep insects off. Per NMSU Extension, direct-sun drying takes roughly 2 to 3 days, depending on the peppers’ age, moisture, and how much sun exposure they get. If dew forms overnight, bring your trays indoors until morning, since that moisture undoes a day’s progress fast.
Hanging on a String (Ristras)
Learning how to air dry chili peppers on a string is a good option if you want peppers dried but don’t have screen space. Per UC Davis and MSU Extension, you can air-dry whole pods with the skins still on, no peeling required.
Thread heavy twine or cotton string through the stems, not the flesh. Piercing the actual pepper body opens a path for rot to creep in. Hang the string in a warm, well-ventilated spot, out of direct sun if possible, with space between each pepper so air can circulate.
One important warning here: stick to thin-walled peppers for this method, like cayenne, Thai, chile de árbol, or Hatch and Anaheim types. Thick-walled peppers like jalapeños and poblanos hold too much internal moisture. They often start molding from the inside out before the air ever fully reaches the center, even though the outside looks fine. Save those for the dehydrator or oven instead.
Conditioning, Storage & Crucial Food Safety Rules (Avoiding Mold & Botulism)
Drying your peppers is only half the job. Skip these steps and you risk mold in the jar or, worse, a real food safety problem.
Why conditioning matters
The most common reason homemade chili powder molds in the pantry isn’t bad drying. It’s grinding peppers that still felt a little leathery instead of truly brittle. Even peppers that seem done can hide pockets of moisture in thicker spots.
Colorado State University Extension recommends a conditioning step to catch this before it becomes a problem. Once your peppers have cooled, pack them loosely into a glass jar, filling it only about two-thirds full, then seal it and let it sit for 4 to 10 days. Shake the jar once a day. This spreads out any leftover moisture evenly. If you see condensation beading on the inside of the glass at any point, put that whole batch back in the dehydrator right away.
Store whole, grind as needed
Whole conditioned pods hold their flavor and heat longer than pre-ground powder. Keep them in an airtight jar in a cool, dark cabinet, or in the freezer if you want to store them longer. Grind only what you need for each recipe, since ground chili loses potency faster once its surface is exposed to air.
Two safety rules you can’t skip
First, roasted or dried green chile is still technically a raw food, even after the skin is blistered off. Per NMSU Extension, roasting alone doesn’t count as cooking. Dried chile needs to reach an internal temperature of 135°F before it’s safe to eat, rather than being used straight out of the jar in a raw dish.
Second, never store peppers covered in oil at room temperature. Per UC ANR Cooperative Extension, homemade chili-infused oil left out on the counter carries a genuine botulism risk. If you want to make infused oil from your dried chilies, refrigerate it right away for short-term use, or freeze it instead.
Frequently Asked Questions About Drying Chili Peppers
What is the best way to dry fresh chilies?
A food dehydrator set to 140°F is the most reliable, climate-proof method, per Colorado State University Extension. Turn larger pieces every 3 to 4 hours and expect 12 to 24 hours total, depending on pepper thickness and size.
Is it better to dry chilies in the sun or oven?
It depends on where you live. UC ANR Cooperative Extension notes sun-drying needs daytime highs above 85°F with low humidity, which works well in the arid Southwest. In humid or cooler climates, an oven prevents the mold risk sun-drying carries.
How to string chili peppers to dry?
Thread whole, thin-walled pods through the stems with strong string, leaving space for airflow, and hang in a warm, ventilated spot. Keep in mind that per NMSU Extension, air-dried chile is still a raw food and must be cooked to 135°F before serving.
What is the fastest way to dry peppers?
A dehydrator at 140°F is fastest, finishing whole peppers in 12 to 24 hours, per Colorado State University Extension. Peeled green chile finishes even quicker, in about 6 to 8 hours, according to NMSU Extension, compared to days or weeks of air-drying.
What is the best way to preserve chili peppers?
Dehydrating at 140°F (CSU Extension) gives shelf-stable storage, while freezing works well for roasted chile (NMSU Extension). One key warning from UC ANR Cooperative Extension: never store peppers covered in oil at room temperature, since this carries a real botulism risk.
How long will dried peppers last?
Colorado State University Extension’s conditioning step, plus airtight, dark storage, is the verified way to prevent spoilage. Home-preservation convention suggests several months to a year on the shelf, longer in the freezer, but keeping moisture out is what truly determines how long they last.
Final Thoughts
Drying chili peppers isn’t complicated once you match the method to your climate and equipment. A dehydrator at 140°F is your safest bet no matter where you live, while sun-drying only makes sense if you’re somewhere hot and dry. Whatever method you choose, don’t skip conditioning, and never store dried or roasted peppers in oil at room temperature. Get those two things right, and your harvest will stay flavorful and safe for months to come.